
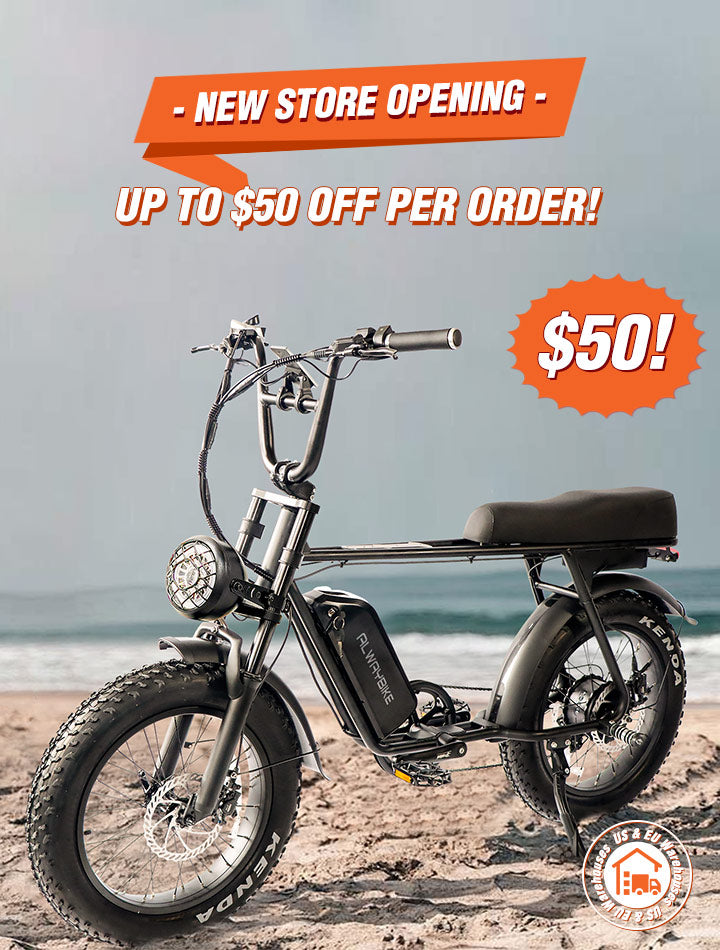
Fat-Tire E-Bike Tire Pressure for Sand, Snow, and Pavement


Choosing the best fat-tire e-bike means using approved tire and rim limits, then testing pressure changes for terrain, load, speed, and control.
The best fat-tire e-bike setup does not rely on a universal PSI chart. Start with the exact tire sidewall and the guidance for the wheel, rim, and e-bike. Record a compliant baseline, make one small terrain-specific adjustment, and test it before the full ride. This approach works for fat-tire e-bike tire pressure on loose sand, snow, pavement, and mixed routes without treating tire width alone as a pressure specification.

Set a Manufacturer-Compliant Starting Pressure for the Best Fat-Tire E-Bike Setup
First, identify the installed tire and compatible wheel or rim, then use the most restrictive applicable pressure limit. A manufacturer's general terrain tip never overrides the instructions for your actual setup.
- Identify the setup and limits. Read the pressure range on the installed tire sidewall and consult the wheel, rim, and e-bike guidance. Use the lower of the tire and rim pressure limits, and never use a terrain adjustment to go below the tire minimum or above an applicable maximum. If the instructions conflict, follow the applicable manufacturer guidance or get model-specific advice.
- Choose a documented baseline. Use an approved setting suited to the firmest part of your planned route, such as pavement or hardpack. No single pressure works safely across every tire, wheel, load, and riding condition, as manufacturer guidance explains.
- Measure both cold tires. Use the same gauge on the front and rear tires instead of estimating pressure by squeezing a high-volume tire. A digital gauge for precise PSI measurement makes settings easier to compare.
- Record the conditions. Note the pressure, surface, rider-and-cargo load, temperature, and intended speed. If the actual tire and wheel combination has no usable pressure guidance, pause and get model-specific information instead of borrowing a generic fat-tire chart.
Before taking a new or replacement setup on the trail, confirm that the tire and wheel combination is approved. The label “fat tire” does not establish a usable pressure range.

Choose the Surface Adjustment for Sand, Snow, or Pavement
Use the documented baseline as your reference, then choose a direction for a short test. Loose terrain may justify a compliant reduction for flotation or grip, while pavement, firm snow, faster riding, or changing conditions may favor a firmer setting. The matrix below gives you a testing direction, not a fixed PSI recommendation.
| Surface condition | Direction from documented baseline | Signs to test | Boundary that ends the adjustment |
|---|---|---|---|
| Loose sand | Test one small, compliant reduction when flotation and steady traction are needed. | The bike tracks steadily, steering remains predictable, and the tire conforms without excessive squirm. | Stop lowering if steering becomes vague, braking confidence falls, or impacts reach the rim. |
| Packed or firm snow | Hold the baseline first; compare with a small compliant change only if the surface and guidance support it. | Predictable braking, stable steering, and enough grip over firm sections. | Do not automatically use a loose-snow setting when the surface behaves like hardpack or ice. |
| Loose, wet, rutted, or changing snow | Prioritize control and route choice over maximum flotation. A firmer reference may be more useful as conditions change. | Stable tracking through changing sections and confidence during braking. | Choose a safer route or stop rather than lowering pressure for a surface that no longer permits predictable control. |
| Pavement or hardpack | Use or return toward the firmer approved setting when rolling feel, stable steering, braking, and tire support matter most. | Straight-line stability, controlled cornering, and a ride that is not harsh or bouncy. | Stay within the approved range; do not increase pressure beyond the tire or rim limit to improve rolling feel. |
Firmer pressure generally favors smooth-road rolling efficiency, while compliant lower pressure can improve comfort and grip. That tradeoff does not make the lowest setting the best one: surface and weather guidance warns that excessive reduction can affect steering and control. For a broader terrain-specific follow-up, see these sand and snow riding tips, but do not transfer a generic numeric range to your setup.
Account for Rider Load, Speed, and Tire Construction
Treat the rider, e-bike, and cargo as one system load. A heavier setup generally needs more support within the approved values, so be more conservative about lowering pressure. Total rider, bicycle, and luggage weight matters more than body weight alone.
Higher speed, hard braking, sharp edges, rough terrain, and impacts also increase the need for tire and rim support. If the route changes from a slow beach test to a faster paved descent, reassess the setting instead of carrying over the soft-surface adjustment.
Pressure settings do not transfer cleanly between different tire widths, casings, tread patterns, rim designs, or tubed and tubeless systems. Before changing pressure or replacing a tire, confirm that the tire and rim combination is compatible. Pressure tuning cannot correct an incompatible setup.
Before a loaded or high-speed ride, measure both tires with the same gauge and reassess the approved guidance for the actual load. Do not convert load or speed into a PSI-per-pound or PSI-per-mile rule. When the intended use exceeds the tire, wheel, or bike maker’s stated guidance, pressure alone is not a solution.
Run a Controlled Test Before the Full Ride
A short, low-speed test on a representative section is the safest practical way to compare one compliant change before committing to the route. Comfort alone does not confirm adequate support; check control and inspect the components, too.
- Measure and record. Check both cold tires and write down the setting, surface, load, and conditions.
- Inspect the setup. Look for proper tire seating, sidewall damage, bead movement, rim damage, and other visible problems before riding.
- Ride a short representative section. Keep your speed controlled and avoid aggressive cornering, hard braking, jumps, and obstacles until handling is predictable.
- Assess the bike. Check straight-line stability, steering, braking, traction, comfort, tire squirm, and impact feedback. Flotation or grip is only one part of the result.
- Inspect and decide. After the test, inspect both tires and rims again. Keep the setting if control and support are satisfactory, return to baseline if they are not, or make only one small compliant change for another comparison. For the best fat-tire e-bike result on a mixed route, keep the setting that preserves predictable control, braking, and rim protection.
Stop the test immediately if the tire unseats, the rim strikes the ground, steering becomes unpredictable, braking control deteriorates, or the tire or rim shows visible damage. This test loop is conservative practical guidance, not a universal testing standard.
Read Underinflation and Overinflation Signs, Then Act
Use ride symptoms to decide whether to inspect, reverse a recent change, or stop for service. Do not use a symptom as a formula for an exact PSI correction.
- Rim strikes, sharp impacts, excessive sidewall deformation, tire squirm, or vague steering: Stop and inspect. These signs suggest inadequate support for the load or terrain. If the components are undamaged, return toward the recorded baseline or make a cautious increase only within the approved range.
- Harshness, bouncing, or poor conformity on uneven ground: Treat these as possible signs that the setting is too firm for the surface. Test only a small compliant reduction, then reassess steering, braking, traction, and rim protection.
- Bulges, cuts, bead movement, persistent leaks, unusual tire damage, or a damaged rim: Stop pressure tuning. These are component problems that require repair or qualified service.
- No improvement after an adjustment: Recheck both tires with the gauge and compare them with the baseline. Return to the last setting that provided predictable control, or stop riding if the problem remains.
Manufacturer guidance on rim strikes, damage, harsh rides, and reduced traction supports using these symptoms as inspection triggers rather than as permission to chase a lower or higher number. Do not continue riding with visible damage or repeated rim strikes.
Frequently Asked Questions
These answers apply to the actual installed tire and wheel setup, not to a universal fat-tire pressure chart.
What PSI should I start with on a fat-tire e-bike?
Start with the approved range printed on the installed tire and the applicable wheel, rim, and e-bike guidance. Use the lower applicable limit, measure both cold tires with a gauge, and record the baseline before testing the actual load and surface.
Should I lower fat-tire e-bike pressure for sand or snow?
Loose sand or loose snow may justify a cautious reduction within the approved range when flotation and grip are needed. Packed snow, wet or rutted snow, ice, and changing conditions may favor the baseline or a firmer setting because predictable steering and braking matter more than maximum flotation.
Does rider weight or cargo change fat-tire e-bike pressure?
Yes. Count the rider, e-bike, and cargo together. Heavier loads generally need more support within approved values, so be more cautious about lowering pressure. There is no reliable PSI-per-pound rule that replaces the tire, rim, and e-bike guidance.
How can I tell if my fat-tire e-bike pressure is too low or too high?
Rim strikes, sharp impacts, sidewall deformation, squirm, and vague steering are low-support triggers that call for inspection. Harsh bouncing or poor conformity may suggest excessive pressure for the surface. Recheck the baseline, make only a compliant change if the components are undamaged, and stop for service when you see a bulge, cut, bead movement, leak, or damaged rim.
