


Electric Dirt Bike Charging at a Trailhead: Battery, Generator, and Transport Planning


Plan electric dirt bike charging for a trailhead by matching route energy, venue permission, compatible equipment, generator backup, and transport instructions.
An off-site ride is a go only when the electric dirt bike charging plan covers the full route and return or exit distance, trailhead rules are confirmed, the charging system is documented as compatible, and the selected generator or transport option is ready. Starting with a full battery is not enough. If any required detail is unknown, mark the outing no-go until that blocker is resolved.

Complete the Off-Site Ride Go/No-Go Worksheet
Use this single worksheet before departure. Record the exact bike, battery, charger, route, venue, and transport information. The trip is a go only when every required row is confirmed and the conservative route-and-return plan fits.
| Planning check | What to record or verify | Result |
|---|---|---|
| Energy and return fit | Starting battery state; complete route; return or exit distance; detours; terrain; surface; speed; rider and gear load; temperature; weather exposure; riding style; documented or calculator-based estimate; deliberate return reserve | Confirmed, unavailable, or unresolved |
| Venue and charging access | Electric dirt-bike access; charging permission; approved location; access timing; supervision; weather protection; or a no-charging plan that works from the starting charge | Confirmed, unavailable, or unresolved |
| System compatibility | Exact bike, battery, charger, connector, and electrical-source requirements from the applicable documentation | Confirmed, unavailable, or unresolved |
| Generator or transport readiness | If using a generator: manufacturer and venue approval, documented compatibility, and safe operating conditions. If transporting: the supported complete-bike or removable-battery option, carrier, vehicle, and equipment condition | Confirmed, unavailable, or unresolved |
| Final decision | Name the earliest unresolved blocker. Choose go only when the energy, access, compatibility, and selected backup or transport conditions all pass | Go or no-go |
Estimate Usable Trail Range, Not Maximum Advertised Range
Select a documented or calculator-based distance that covers the complete outing, including the return or exit path, detours, and distance to an approved charging point. The selected estimate must still leave the deliberate return reserve you recorded for this bike and route. If it does not, shorten or change the ride, arrange approved charging, or make the outing a no-go.
An electric motorcycle range calculator is useful for organizing inputs, not for creating a guarantee. Start with the specific bike's documented usable energy or range basis. Then record realistic assumptions for speed, terrain, surface, rider and gear load, temperature, weather, and riding style. A transparent planning relationship is:

estimated usable distance = documented usable energy ÷ realistic energy use per mile
Treat the result as an estimate only. Validate it against comparable local rides when that information exists, and state the reserve assumption rather than hiding it inside the calculation. Do not assign a universal reserve percentage or terrain multiplier.
Published range is measured under specified operating conditions, so it is not guaranteed off-road trail distance. The published range test conditions explain why a manufacturer figure should be treated as a planning input rather than the maximum distance your trail ride can safely demand.
If you are refining throttle, ride-mode, tire, or cold-weather assumptions, use these battery range tips for trail riding as a follow-up. Do not use general tips in place of the exact bike documentation or route evidence.
Verify Electric Dirt Bike Charging Permission and Equipment Compatibility
Destination charging belongs in the dependable ride plan only after the venue and the complete charging system are confirmed. Contact the trailhead, park, track, or land manager before departure and ask whether electric dirt-bike access and charging are allowed at the intended location and time.
Trail and motorized-use access can be facility-specific, including conditions imposed by the land manager. The facility-specific trail access guidance helps frame the access question; it does not grant charging permission. Ask the venue about the outlet or charging arrangement, access hours, supervision requirements, and protection from weather. Bicycle access, an EV station, or another rider's experience does not establish permission for this bike.
Match the exact bike, battery, charger, connector, and electrical requirements as one system under the manufacturer's specifications. The battery and charger compatibility guidance supports that system-level approach; a general outlet or charger label is not proof that the complete setup is suitable.
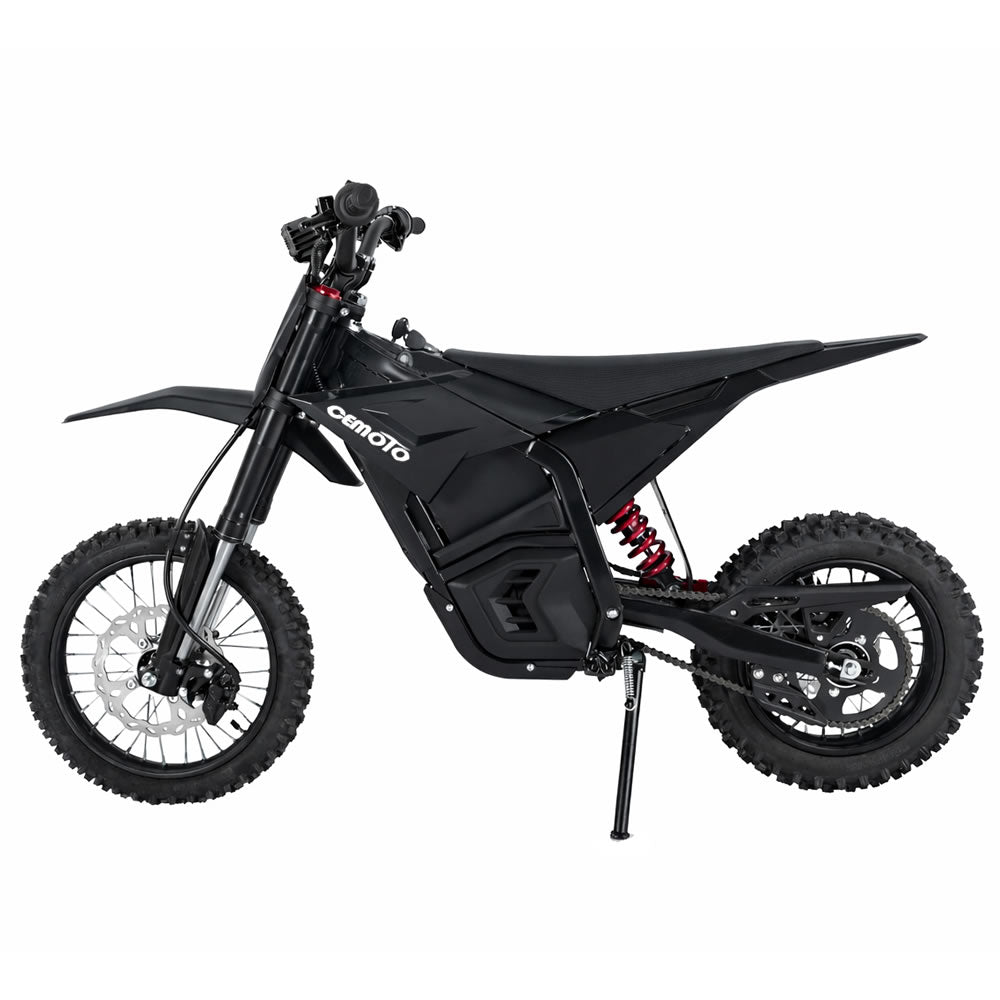
If you are researching a CEMOTO D03 battery system, the CEMOTO D03 Charging Station is a product-research option with stated D03-system compatibility and listed overcharge, overcurrent, and short-circuit protection. We do not present that product as proof of trailhead permission, generator compatibility, weather suitability, or fit for another bike. Compare it with the exact system documentation before relying on it away from home.
When permission, access timing, dry conditions, supervision, or exact compatibility is unresolved, exclude destination charging from the plan. The ride must work from the starting charge or another approved option.
Use Generator-Supported Charging Only as an Approved Backup
For electric dirt bike charging at a trailhead, a generator is a valid backup only when the bike and charger manufacturers and the venue approve the plan, and the generator, charger, battery, and connection are documented as compatible. Without those conditions, treat the generator as unavailable rather than estimating a wattage, adapter, grounding method, or charging time.
Operate the approved setup outdoors, in a dry and stable location, with intact equipment and cords appropriately rated for the intended use. Follow both the generator and charging instructions, keep the arrangement supervised, and obey the site's placement and fuel rules. OSHA's portable-generator safety guidance supports outdoor operation, dry conditions, intact cords, appropriate ratings, and manufacturer directions. It does not establish compatibility with a particular dirt-bike charger.
Reject the generator option if the equipment is wet, damaged, overloaded, improvised, enclosed, unattended, or unapproved. A makeshift cover does not make wet charging acceptable, and a generator should not rescue a route that already fails the energy gate. If a prerequisite is missing, use the starting charge, an approved charging arrangement, a different route, or a no-go decision.
Choose the Documented Bike or Battery Transport Branch
Choose the transport method from the exact bike, battery, carrier, and vehicle documentation. First determine whether the battery is removable based on the specific bike and battery instructions; use the vehicle documentation to determine whether the vehicle supports the resulting transport method. Then follow the applicable handling, protection, temperature, orientation, securing, and loading instructions.
If the Battery Is Removable
Use a battery-only transport option only when the bike and battery documentation supports removal and transport. Follow the instructions for removal, terminal protection, covering, temperature, orientation, securing, and loading. The carrier and vehicle must support that method before you leave home.
Do not generalize shipping or hazardous-material rules to every undamaged battery carried in a personal vehicle. For ordinary transport, the exact product and vehicle instructions control. If those instructions are unavailable, the removable-battery option cannot support the trip.
If the Battery Is Non-Removable
Transport the complete bike according to the manufacturer's and carrier's instructions for securing the bike and protecting its controls and charging components. The vehicle and carrier must suit the bike's documented size and weight, and the bike must remain within its documented weather and impact limits during loading and travel.
Stop ordinary transport and charging planning for a battery that is damaged, defective, or recalled. Also stop if the exact battery documentation treats swelling, leakage, unusual heat, wetness, or another condition as outside approved handling. PHMSA lithium-battery guidance explains why damaged, defective, or recalled batteries require special handling. Obtain manufacturer or qualified hazardous-material guidance instead of loading or charging a suspect battery as normal.
Take the First Corrective Action When the Plan Is Not Verified
If the worksheet says no-go, do not solve the uncertainty with an improvised connection, a generic container, or an optimistic range assumption. Identify the earliest unresolved blocker and resolve that specific requirement before departure.
- Name the blocker: route energy, venue permission, system compatibility, generator approval, weather exposure, or transport documentation.
- Obtain the governing bike, battery, charger, carrier, vehicle, or venue instruction or confirmation.
- Revise the route or charging option only after that requirement is understood. If confirmation is unavailable, charge at home, shorten or change the outing, arrange an approved option, or postpone.
- Record the revised inputs and a new go/no-go result before leaving.
The practical answer is simple: go only when the conservative route-and-return plan and every required logistics gate are confirmed. Fill out the worksheet now, resolve its earliest unknown, and leave only after the revised result says go.
FAQ
These questions cover exceptions that can change the decision at the trailhead.
What if the trailhead has an outlet but no posted charging policy?
Treat the outlet as a possible power source, not as authorization. Ask the land manager whether electric dirt-bike charging is allowed, where it may occur, and when access is available. If you cannot get that answer before departure, build the plan around the starting charge instead.
Does a map distance tell me whether the battery will last?
No. A map supplies route distance, but it does not establish energy use for your bike, terrain, load, or riding style. Put the traced maximum route-and-return distance into the worksheet and compare it with a model-specific estimate; if that estimate is unavailable, change the route rather than inventing a reserve.
What is the first generator check before I leave?
Write down the exact generator model, charger input requirements, and venue approval as one pairing. If the manufacturer's documentation does not support that pairing, remove the generator from the plan and do not test an improvised connection at the trailhead.
What if the removable-battery instructions are missing?
Do not infer that removal is supported. Use the complete-bike option only if the bike, carrier, and vehicle instructions cover that method; otherwise stop the transport plan and obtain the governing documentation before loading the bike or battery.
