

Electric Dirt Bike Chain and Sprocket Wear: When to Adjust, Replace, or Stop


Decide whether an electric dirt bike chain needs adjustment, replacement, or a stop-riding inspection, then collect fitment details before ordering parts.
Treat the drivetrain as an adjust, replace, or stop decision. Adjust an electric dirt bike chain only when a stationary inspection finds smooth movement, straight tracking, intact links and teeth, and serviceable hardware. Replace confirmed worn or damaged parts after inspecting the mating components. Stop riding when the chain binds, derails, has uncontrolled slack or damaged hardware, or the fault remains unresolved.
Electric Dirt Bike Chain Wear: Adjust, Replace, or Stop?
Use this table as the first decision point. It matches each finding to an action without assigning a universal slack measurement, wear percentage, or fitment rule.
| Finding | Likely issue category | Immediate action | Verify before riding |
|---|---|---|---|
| Noticeable slack, but the chain moves smoothly and the teeth, links, pulley, alignment, and hardware look intact | Adjustment may be needed | Keep the bike stationary and follow the model-specific adjustment procedure | Specified inspection position, slack range, alignment, fasteners, and smooth rotation |
| Stiff or binding links, kinks, missing rollers, corrosion, or irregular movement | Chain damage or contamination; the exact cause still needs confirmation | Do not ride; inspect the chain and mating parts for replacement or qualified service | Cause identified, damaged parts addressed, and stationary engagement verified |
| Hooked, pointed, uneven, chipped, cracked, or missing sprocket teeth | Sprocket wear or damage affecting chain engagement | Plan component replacement and inspect both sprockets and the chain | Replacement choice follows the bike or part documentation, and the chain engages smoothly |
| Derailment, uncontrolled slack, skipping, or intermittent engagement | A potentially serious chain, sprocket, pulley, alignment, or hardware fault | Stop riding and keep the drivetrain stationary | Fault identified and repaired; no unresolved derailment or engagement problem remains |
| New or severe noise or vibration | The source may be chain contact, sprocket engagement, the pulley, alignment, or loose hardware | Do not test the symptom by riding; inspect while stationary or arrange qualified service | The source is confirmed and the repair passes stationary checks |
| Suspected misalignment, loose hardware, or damaged mounts or axle-area components | Drivetrain tracking or structural hardware problem | Stop riding and obtain a qualified inspection when the cause is unclear | Applicable alignment and fastener requirements are met |
Slack alone does not prove that tightening is the answer. If the chain is not smooth, aligned, and intact, move beyond adjustment before operating the bike.

How to Inspect an Electric Dirt Bike Chain and Sprocket at Home
A stationary inspection can distinguish ordinary slack from visible wear, binding, engagement, tracking, and hardware problems. Follow the bike's safety instructions and use its specified inspection positions because designs differ.
- Secure and isolate the bike. Park it securely, deactivate the drive system, and follow the owner's manual before touching or rotating drivetrain parts. Keep hands, clothing, and tools clear of pinch points. If the design does not allow a safe hand inspection, stop and use qualified service.
- Check slack at the specified position. Find the manufacturer's inspection point and the required suspension or wheel position, if the manual specifies one. Do not substitute a generic measurement or judge tension by feel alone. Record what you observe before changing the adjusters.
- Inspect the chain during permitted stationary movement. Look for tight spots, stiff links, kinks, missing rollers, corrosion, damaged plates, and irregular movement. Rotate or move the drivetrain only as the bike's design and documentation permit. A tight spot or binding section matters more than a single loose-looking section.
- Inspect both sprockets and engagement. Examine the teeth for hooked, pointed, uneven, chipped, cracked, or missing sections. Watch how the chain seats on and leaves each sprocket. A chain that does not engage smoothly needs more than a visual tension adjustment. Service guidance supports checking both mating sprockets for wear or cracks rather than assuming a chain-only repair is enough.
- Trace tracking and noise sources without riding. Check whether the chain tracks straight, then inspect the tensioner pulley, pulley position, mounts, guards, axle area, adjusters, and accessible hardware. Do not attribute severe noise or vibration to one component based on sound alone. If the source is unclear, keep the bike stationary.
Together, these checks distinguish an adjustment issue from component wear and provide the details needed to select parts.

How to Adjust the Chain Without Guessing
Adjustment is reasonable only when the inspection shows serviceable links and sprocket teeth, straight tracking, intact hardware, and no severe binding, derailment, or uncontrolled slack. Chain tension is not a tighten-by-feel task.
Secure the bike and use the exact manual or service specification for the inspection position, slack range, adjustment method, alignment references, and fastener requirements. Make any applicable adjustment evenly, then recheck alignment, the specified slack, and the fasteners. Confirm smooth stationary rotation before riding. The Honda CRF110F manual's post-adjustment checks illustrate a slack recheck and free-wheel rotation check, but its values and procedure are not universal.
Do not eliminate slack simply because the chain looks loose. The KTM SX-E 5 manual specifically warns that excessive chain tension can accelerate wear in several drivetrain and wheel-bearing components, so its warning about excessive chain tension is a model-specific example, not a measurement for another bike.
If adjustment creates tight spots, will not hold, leaves excessive slack, or fails to resolve noise, derailment, or poor engagement, stop treating adjustment as the fix. Move to component inspection, replacement planning, or qualified service. If the applicable specification is unavailable, do not guess at the limit or fastener requirement.
When to Replace the Chain, Sprocket, or Both
A dirt bike chain replacement can be chain-only when chain failure is confirmed and both sprockets, alignment, hardware, and the tensioning system are serviceable. When mating components also show wear or damage, replacing only the chain may leave the underlying engagement problem unresolved.
Choose Chain-Only Replacement
Choose this path only when the chain has confirmed wear or damage, while the sprocket teeth remain serviceable and the chain tracks and engages correctly after the specified setup. Verify the chain's markings, dimensions, connection method, and bike fitment against model or part documentation before ordering.
A chain-only decision is not based on appearance or slack alone. Inspect the tensioner pulley and its mounts if the chain has persistent slack, vibration, derailment, or tracking problems. Those symptoms do not prove that the pulley is the failed component, but they justify checking it before ordering a chain.
Choose Chain-and-Sprocket Replacement
Choose chain-and-sprocket replacement when both components show wear, the chain has run on damaged teeth, or the chain cannot engage smoothly after correct setup. Hooked, pointed, uneven, chipped, or cracked teeth are reasons to stop assuming that a chain-only repair is sufficient.
Inspect both sprockets for wear or cracks before finalizing the replacement choice. The Suzuki manual supports that inspection approach, while the applicable manufacturer's documentation controls the actual replacement standard. If slack, vibration, derailment, or tracking trouble persists, include the tensioner pulley, mounts, and surrounding hardware in the inspection.
When to Stop Riding and Get the Drivetrain Inspected
Keep the bike stationary when a drivetrain fault could worsen during operation or affect control. Do not take another test ride to reproduce a serious symptom.
The stop-riding boundary includes severe binding, derailment, uncontrolled slack, damaged or missing sprocket teeth, damaged chain links or rollers, loose or damaged hardware, suspected misalignment, skipping, and unresolved severe noise or vibration. Isolate the bike, perform only checks that the manual and design allow safely, and arrange qualified inspection when the cause cannot be confirmed.
Qualified service is the better next step when the adjustment procedure is unavailable, adjustment will not hold, mounts or axle-area hardware are damaged, or the fault involves a component you cannot assess safely. Return to riding only after the cause has been identified, the repair or adjustment is complete, and stationary verification shows proper tracking and smooth engagement.
How to Identify and Order the Right Replacement Parts
Build a fitment packet before shopping. The exact bike identity, component markings, measurements, photos, and documentation are more reliable than a visually similar part.
- Identify the bike. Record the exact brand, model, variant, and available production or drivetrain information. Include the motor or drivetrain designation when it appears in the documentation.
- Record component details. Capture chain markings and documented chain specifications, plus sprocket tooth count, dimensions, mounting pattern, and offset when available. Record confirmed tensioner-pulley markings or measurements as well.
- Photograph the assembly. Take clear photos of the chain, both sprockets, tensioner pulley, mounts, adjustment hardware, and identification label. Photos help a seller or service provider understand the setup, but they do not establish compatibility by themselves.
- Compare the documentation. Match the packet against the bike manual, service documentation, and the current replacement listing. If a dimension, marking, or mounting detail conflicts, pause the order and request confirmation rather than choosing by appearance.
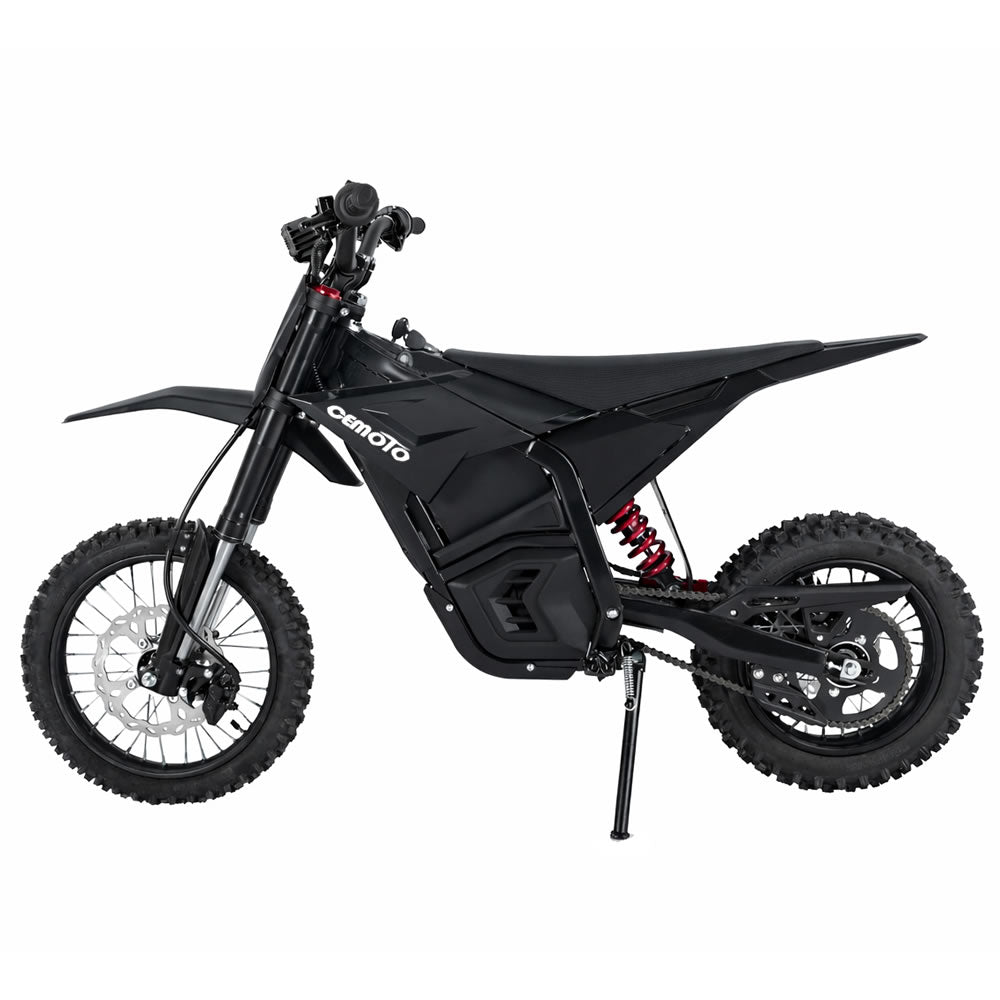
- Review the relevant D03 reference after confirming fitment. For a confirmed CEMOTO D03 drivetrain, compare the packet with the CEMOTO D03 chain listing. The supplied listing identifies high-strength steel, heat-treated construction, corrosion-resistant coating, pre-lubrication, and a standard master link, but it does not establish universal fit or supply every dimension needed for another bike. If inspection points to a pulley issue on a confirmed D03 setup, review the CEMOTO D03 tensioner pulley listing and compare its model and mounting details before ordering.
Before placing the order, compare every identifier and dimension with the applicable documentation. If any detail conflicts or is missing, pause and obtain confirmation from CEMOTO or a qualified service provider.
FAQ
These answers address the choices that usually follow a stationary drivetrain inspection.
How Do I Know If My Electric Dirt Bike Chain Needs Replacing?
Look for binding, damaged links or rollers, poor engagement, or slack that remains outside the specified range after adjustment. Inspect both sprockets and the tensioning system before choosing the replacement part.
How Tight Should an Electric Dirt Bike Chain Be?
Use the exact slack inspection position and adjustment procedure in the bike manual or service specification. Do not tighten by feel or eliminate all slack. After adjustment, recheck alignment, the specified slack, and smooth stationary rotation.
Should I Replace the Sprocket With the Chain?
Not automatically. Chain-only replacement can be reasonable when chain failure is confirmed and the sprocket is serviceable. Replace or address both when the sprocket has hooked, uneven, chipped, cracked, or otherwise damaged teeth, or when the chain cannot engage smoothly. Follow the manufacturer's matched-component guidance when it exists.
What Information Do I Need to Order a Replacement Electric Dirt Bike Chain?
Collect the exact bike model and variant, verified chain markings or specifications, sprocket tooth and mounting details, relevant pulley information, and clear assembly photos. Compare those details with the bike and product documentation before ordering.
