

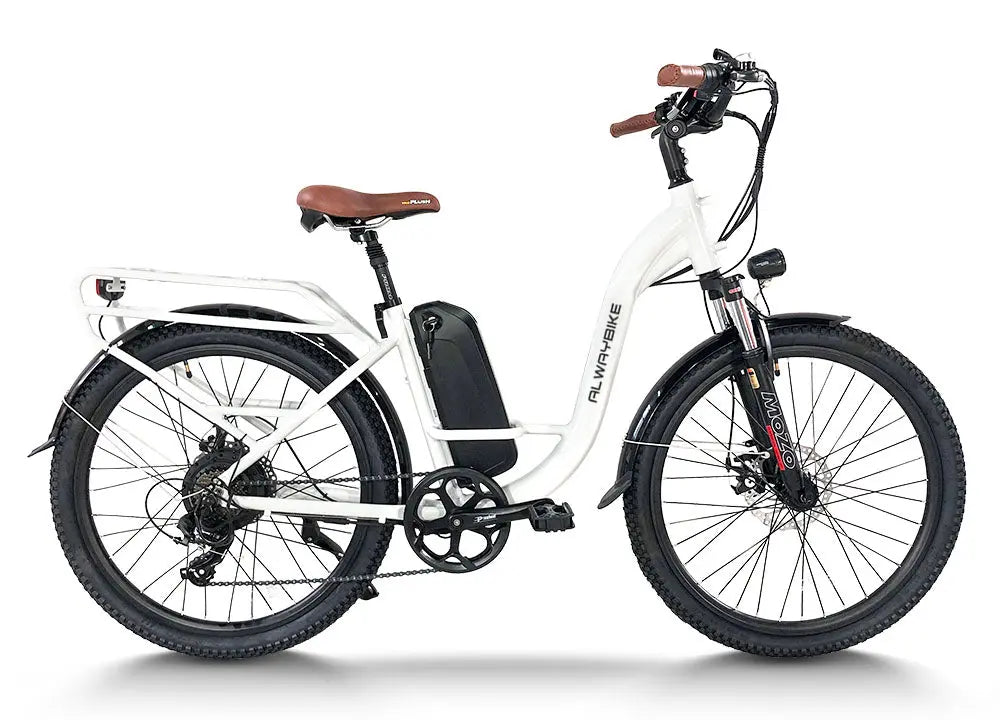
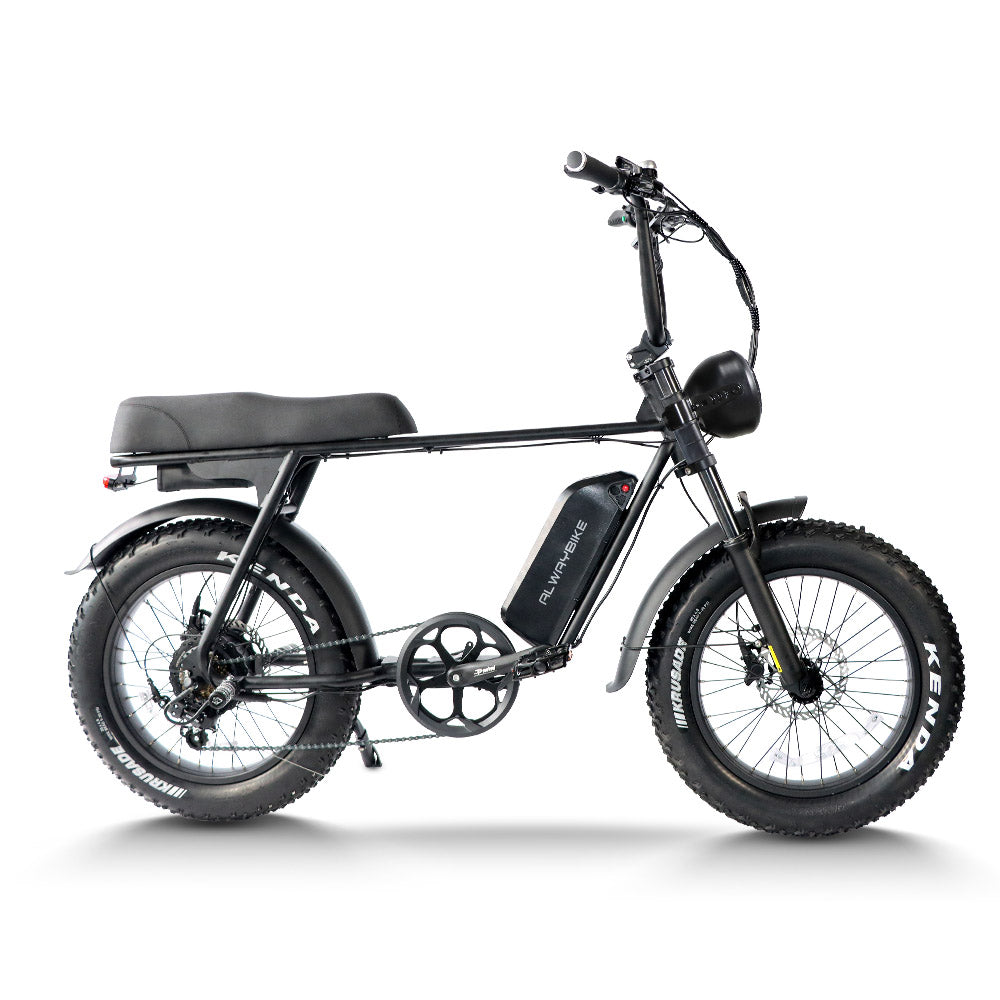
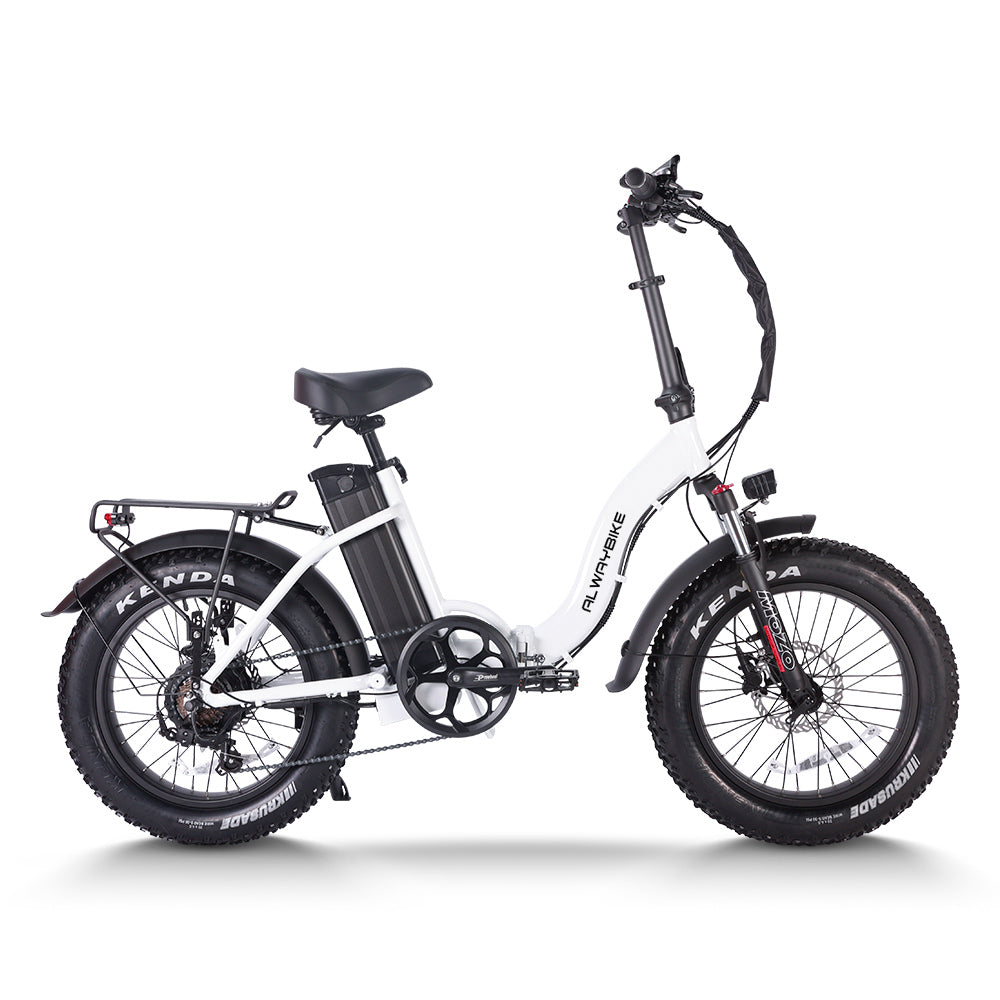
Before the First Charge: Inspect an E-Bike After Delivery


This electric bike shipping inspection covers the carton, bike, battery, charger, and labels, then helps you choose assembly, seller contact, or a safe stop.
Set the charger aside, photograph the carton, and inspect the e-bike before powering it, charging it, riding it, or discarding the packaging. This electric bike shipping inspection leads to one of three next steps: proceed with the manufacturer's assembly instructions, contact the seller about an unresolved issue, or stop charging and riding when you find a battery, electrical, frame, or control concern. A visual inspection documents the bike's observable condition; it does not certify the battery's internal safety.

Complete an electric bike shipping inspection before you charge it
Start with the shipping evidence, then inspect the bike and its electrical components in order. Keep the carton, inserts, shipping labels, loose hardware, charger, and included parts together throughout the inspection.
- Carton and labels: Photograph every side of the box, shipping labels, punctures, crushing, tears, wet areas, and other signs of handling damage before opening the package further. If the carton is damaged, keep it and photograph the concern instead of discarding it.
- Contents and packing: Compare the visible contents with the packing materials and included instructions. Photograph loose hardware, missing or questionable parts, the charger, and the bike as received. Do not force a part into place or substitute hardware.
- Frame and fork: Look for visible impact damage, cracks, dents, bends, or damaged finish, especially around the fork, steering area, mounts, and other points that could affect control. Photograph each concern and pause if you cannot explain what you find.
- Wheels, tires, axles, and spokes: Check for visible wheel or tire damage, obvious looseness, displaced parts, and seating concerns without riding to test them. Take a clear overall photo and close-ups where needed. A concern affecting wheel retention or steering moves the bike out of routine assembly.
- Handlebar, stem, controls, display, and cables: Look for impact damage, pinched or damaged cables, incomplete assembly, and controls that cannot be positioned as shown by the manufacturer. Photograph the cable routing and any unresolved hardware issue.
- Brakes and drivetrain: Inspect the brake levers, calipers, rotors, visible pads, drivetrain parts, and exposed cables for visible damage, looseness, or interference. Do not use a ride test to prove that a questionable brake or control is acceptable.
- Battery and housing: Inspect the battery exterior, mount, housing, charging port, visible connectors, and nearby wiring without opening, probing, or disassembling anything. Do not charge or ride if you see impact damage, swelling, leakage, scorching or discoloration, exposed conductors, an unusual odor, or another condition you cannot confidently identify. Photograph it without powering it on, then contact the seller or manufacturer. These warning signs are consistent with the battery damage warning signs identified by the U.S. Department of Transportation.
- Charger: Check the casing, cable, plug, and labels for visible damage, but do not power a questionable component. Before charging, use the supplied charger or one the manufacturer has confirmed is compatible. Physical connector fit alone does not prove compatibility.
- Identification records: Photograph every serial, model, and identification label, including labels on the battery and charger when visible. If a label is unreadable or does not match the order or bike, save the photo and pause before completing the affected assembly.
- If the inspection is clear: When no unresolved visible concern remains, move on to the manufacturer's assembly and charging instructions. This is not a certification of the bike's internal electrical safety. If anything is damaged, missing, loose, mismatched, unreadable, or unexplained, use the decision below before connecting power.
Use the Findings to Choose Assemble, Contact, or Stop
Choose assemble only when the carton, bike, included parts, electrical components, and identification records have no unresolved concerns. Continue with the exact manufacturer instructions, and do not treat partial assembly as ride-ready.
Choose contact for a missing part, an unreadable or mismatched label, damage that remains unclear but does not involve a suspected battery, electrical, frame, or other high-consequence safety issue, or a mechanical setup question that needs seller guidance. Leave the affected assembly incomplete and the charger disconnected until the seller or manufacturer gives you the next step. If a high-consequence concern is suspected, use the stop route instead of treating it as routine contact or assembly.

Choose stop when the battery, battery housing, charger, wiring, charging port, or frame shows suspected impact damage, swelling, leakage, scorching, exposed conductors, an unusual odor, or another condition you cannot confidently identify. Do not charge or ride, and do not power, probe, open, repair, or alter the questionable component. Photograph it and contact the seller or manufacturer. For a suspected damaged lithium battery, preserve the package and request written shipping instructions rather than mailing it yourself or improvising the packaging.
The practical e-bike assembly inspection rule is simple: a mechanical finding that could affect control needs seller or manufacturer direction before setup continues. A suspected battery, electrical, charger, wiring, port, housing, or frame hazard is a stop, so do not charge or ride while awaiting instructions.
Create a Delivery Evidence Packet Before You Contact Support
Organize the evidence so support can match the shipment, bike, component, and order. Save photos of the original carton, shipping labels, packing materials, loose parts, the full bike, each concern, battery and charger labels, serial and model records, and order or delivery details. Add a short written timeline explaining what you saw on arrival and where you stopped the inspection.
Record video only when doing so does not require powering, charging, opening, probing, or manipulating a questionable component. Keep the packaging and parts available while the seller reviews the information, and do not repair anything, alter labels, or discard anything potentially relevant. This packet is practical support material, not a universal warranty or carrier requirement. If the seller's process requests a particular format, follow that process; you can also review the warranty claim instructions without assuming a particular outcome is guaranteed.
Finish Manufacturer Setup Before the First Ride
A passed electric bike shipping inspection permits manufacturer-directed setup; it does not mean the bike is ready for its first ride. Follow the exact instructions for final assembly, fasteners, handlebar and controls, wheel installation, brakes, battery installation, and charging.
Before riding, complete the manufacturer's checks for steering and wheel security, brake operation, tires, controls, and correct battery installation. Do not invent torque, tire-pressure, charging-time, connector, or battery-handling specifications from a generic guide. If setup reveals a missing part, hidden damage, unclear instruction, or a steering, braking, wheel-retention, control, or electrical concern, return to the contact or stop route.
Your next action is to follow the applicable charging instructions only when manufacturer-directed setup and its final checks are complete with no unresolved concern. If any concern remains, keep the bike uncharged and unridden, then contact the seller or manufacturer or use the stop route.
Frequently Asked Questions
These short answers address the most common first-day decisions without replacing the inspection sequence above.
Should I Charge an E-Bike Before Inspecting It?
No. Inspect and document the shipment and bike first, with the charger disconnected. Charge only after no unresolved visible concern remains and you have reviewed the manufacturer's instructions for the exact model.
What Should I Photograph When an E-Bike Arrives?
Photograph the carton and shipping labels, packing materials, loose parts, the full bike, close-up views of concerns, battery and charger labels, and every serial or model identifier. Keep the packaging before continuing any affected assembly.
What Damage Means I Should Not Charge or Ride an E-Bike?
Stop for suspected impact damage, swelling, leakage, scorching or discoloration, exposed conductors, an unusual odor, damaged electrical components, or an unexplained condition. Photograph it without powering or probing the component, then contact support.
What Should I Do If My Delivered E-Bike Is Missing a Part?
Photograph the contents and packaging, retain the loose parts and carton, and contact the seller before completing the affected assembly or charging. Do not improvise a replacement or force a part that does not match the manufacturer's instructions. For general support questions, the manufacturer FAQ may also help.
