

E-Bike Tire Pressure for Commuters: Balance Puncture Risk and Comfort


Set commuter e-bike tire pressure by checking labeled limits, rider and cargo load, route surface, and ride feedback before adjusting or inspecting.
The safest way to set e-bike tire pressure for a commute is to start with your tire and bike instructions—not a generic PSI chart. Measure both tires cold, load the bike as you ride it, choose a route-appropriate starting point, and test one change at a time. This approach helps balance comfort, grip, handling, rolling feel, and puncture or pinch-flat risk without pretending one number works for every tire, rider, or road.

How to Set E-Bike Tire Pressure for a Commute
Use this five-step sequence before a regular commute. It gives you a controlled starting point while keeping both tires within the equipment limits that apply to your bike.
- Read the equipment guidance first. Locate the pressure information molded into each tire's sidewall and read the bike maker's instructions. Use those references as the boundaries for your setup. The detailed equipment check appears in the next section.
- Measure both tires cold. Take the readings before riding, when the tires are in the same cold condition you'll use for future comparisons. Record the front and rear readings separately.
- Load the bike as you ride it. Include your body weight, bike, rack, pannier, backpack, and normal work cargo. Compare how the front and rear tires behave under that actual load rather than treating the two wheels as interchangeable.
- Choose a route-appropriate starting point within the stated limits. Smooth pavement, rough streets, curb transitions, and mixed surfaces create different tradeoffs in comfort, grip, rolling feel, and impact protection. Don't copy a universal PSI number or treat a sidewall maximum as an automatic riding target.
- Test a familiar route and change one thing. Record the cold readings, load, surface, and ride result. If the tires and wheels appear sound, make one small adjustment within the stated limits and repeat a comparable route. If you find damage, repeated pressure loss, recurring punctures, or repeated rim-bottoming symptoms, stop adjusting by guesswork and move to inspection or replacement before continuing.
Before riding, keep both tires within the tire maker's and bike maker's stated limits. If those instructions conflict or the applicable limit is unclear, pause and get model-specific guidance rather than choosing a higher setting by assumption.

Read the Tire Sidewall and Bike Manual for the Pressure Boundary
The tire sidewall and bike manual are the two equipment references that define your starting range. They identify the information that applies to your specific tire, rim, and bike, but they don't establish one universal commuter PSI.
Read the Tire Sidewall
Start with the tire size and pressure information molded into the sidewall. The manufacturer's molded tire inflation-pressure marking provides the tire maker's stated inflation information for an inflatable bicycle tire. Use it as the equipment boundary, not as an automatic target for every rider, load, route, or comfort preference.
That distinction matters when comparing electric bike tire pressure across bikes. A narrower commuter tire and a fat-tire setup can have different tire volumes, constructions, and labeled ranges. Don't transfer a pressure assumption from one tire type to another.
Check the Bike Manual and Fat-Tire Guidance
Read the bike owner's manual alongside the sidewall. The bike's maintenance instructions are a second equipment reference, particularly when the model, rim, or tire setup has more specific guidance. You can also use the CEMOTO e-bike user manual as a starting point for model documents, but it isn't evidence for a universal pressure recommendation.
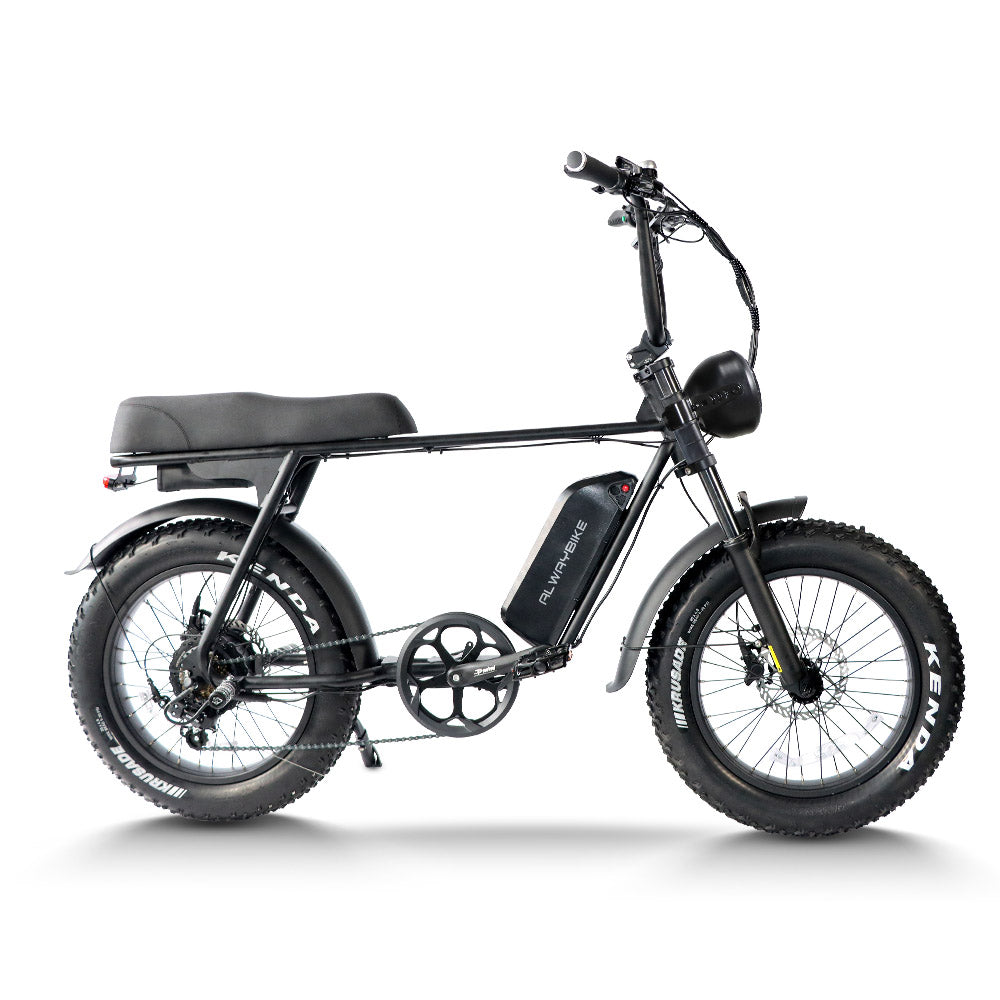
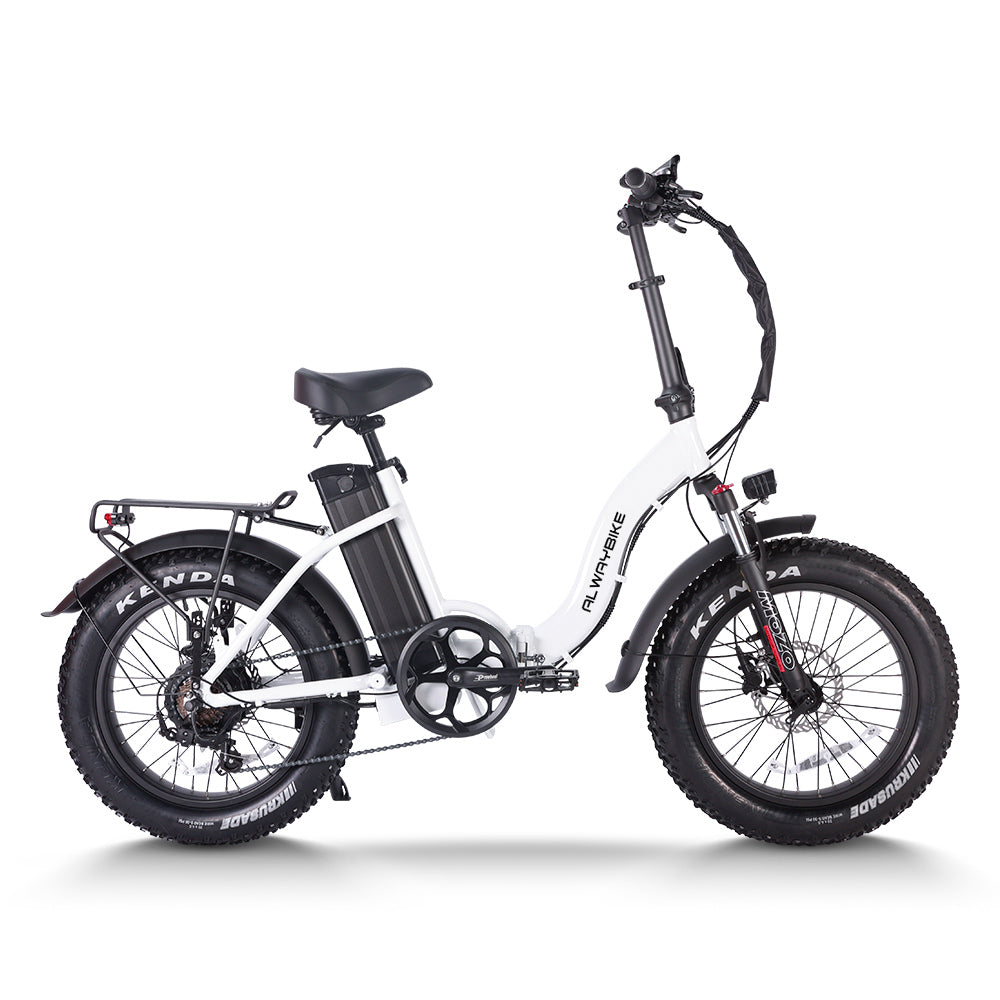
For a fat-tire commuter, use the pressure information for that exact tire and the applicable bike instructions. Tire volume can materially change how the setup behaves, so the best tire pressure for an e-bike can't be transferred from a narrower tire without checking the equipment boundary first. If the sidewall and bike or rim instructions differ, don't exceed the more specific equipment instruction.
Use Rider, Cargo, and Route Surface to Choose a Starting Point
Total system load and route surface determine what to compare first—not a fixed weight-to-PSI formula. Set up the bike with your normal bags and cargo, keep each tire within its labeled limits, and use the matrix below to choose the next compliant condition to test.
| Situation | What to compare | Compliant starting action | Record for the next test |
|---|---|---|---|
| Loaded smooth-pavement commute | Front and rear behavior with the rider, bike, rack, panniers, and work cargo aboard; steering, comfort, and rolling feel | Begin within the applicable tire and bike guidance. Test the loaded bike on a familiar paved section before making one small change | Cold front and rear readings, total carried setup, route surface, and ride result |
| Rough streets, potholes, or curb transitions | Which wheel feels harsh or unstable, plus impact feedback and any sign of rim contact | Keep both tires within their equipment limits. Use the loaded setup and a comparable route to make one small, documented adjustment only if the tires and wheels appear sound | Location and type of impact, front/rear response, cold readings, and any recurring symptom |
| Gravel or mixed-surface commute | Grip, steering confidence, comfort, rolling feel, and how the tires respond as the surface changes | Choose a compliant starting condition for the actual mixed route. Don't use a generic pavement or gravel PSI chart; test the route and change one variable | Surface sequence, cold readings, load, grip and comfort observations, and the next change to test |
When relating pressure to rider weight, treat the rider and cargo as one total system load, then compare the wheels separately. A rack or pannier may load one wheel more heavily, but the available evidence doesn't support a universal front/rear percentage or formula. The useful next data points are measurable: cold pressure, actual load, route surface, and the result of a comparable ride.
Test Tire Pressure and Decide Whether to Adjust or Inspect
Adjust pressure only when ride feedback points to a tuning question and the tire, valve, rim, and wheel appear sound. Move to inspection when the evidence points to a condition problem rather than simply a ride-feel preference.
Use Ride Feedback for a Small Adjustment
A harsh ride, weak grip, vague or unstable steering, or excessive rolling drag can justify one small adjustment within the stated limits when the setup appears undamaged. Repeat the same route or a comparable section afterward. Record what changed instead of adjusting both tires repeatedly or changing several variables at once.
These symptoms are decision signals, not proof of one exact pressure or one definite cause. If the result improves on the familiar route and the equipment remains sound, keep the documented setting within the applicable guidance. If it doesn't improve, stop treating pressure as the only possible explanation.
Inspect or Replace When the Tire Shows a Problem
Stop pressure experimentation and inspect the setup if you see a cut, bulge, exposed casing, valve or rim damage, repeated rim strikes, pinch-flat evidence, recurring punctures, or repeated pressure loss. Visible underinflation or overinflation behavior also deserves attention when it persists after a compliant adjustment.
Check the tire, valve, rim, wheel, and likely puncture source rather than assuming the symptom proves a pressure error. If the tire's condition makes continued use unsuitable, replace it before riding again. A damaged or repeatedly leaking setup isn't a pressure-tuning project.
How Often Should You Check E-Bike Tire Pressure?
There is no supported universal number of days for checking. Compare both tires cold before regular rides, or follow the tire and bike maker's instructions when they specify a maintenance routine. Using the same cold-tire condition makes gradual loss easier to notice.
Recheck after extended storage, a pothole or curb impact, a harsh ride, or a new flat. Look at the tires and valves while comparing the readings. If pressure repeatedly falls between checks, treat that as an inspection trigger instead of simply adding more air. For riders carrying regular cargo, a broader cargo e-bike maintenance checklist can support general upkeep, but it doesn't replace the pressure information for your tire and bike.
The practical rule for commuting is simple: establish a cold, loaded baseline within the labeled equipment limits, test it on the route you actually ride, and document one change at a time. If pressure loss, damage, punctures, or rim impacts continue, inspect or replace the affected setup before continuing.
FAQ About E-Bike Tire Pressure
These answers apply the same equipment, load, surface, testing, and inspection boundaries to common commuter questions.
What PSI Should an E-Bike Tire Have?
Use the pressure information on the tire sidewall and the bike maker's instructions as the equipment boundary. The compliant starting point depends on the specific tire, load, route, and test feedback, so there is no single universal PSI for every e-bike.
Does Rider Weight Change Tire Pressure?
Yes, rider weight belongs in the total system load with the bike and cargo. Compare front and rear behavior within each tire's labeled limits, especially when racks or panniers load one wheel more heavily. Don't substitute a fixed rider-weight formula.
How Often Should I Inflate E-Bike Tires?
Check both tires cold before regular rides or according to observed pressure loss and the maker's instructions. Recheck after storage, impacts, a harsh ride, or a new flat. Repeated loss calls for inspection rather than repeated top-offs.
How Do I Know Whether to Adjust Tire Pressure or Replace a Tire?
Make one small adjustment within the stated limits only when the tire, valve, rim, and wheel appear sound and the issue is ride feel. Inspect or replace the affected tire when there is damage, recurring puncture evidence, repeated rim strikes, valve or rim trouble, or persistent pressure loss.
