

E-Bike Repair Escalation: Know When to DIY, Order Parts, or Get Help


Use a clear e-bike repair escalation path to record symptoms, handle low-risk checks, confirm replacement fit, contact a helper, or stop using the bike.
An e-bike repair problem does not automatically mean you need a new part or a repair shop. First preserve the bike's current condition, record exactly what happened, and check whether a safety issue means you must stop troubleshooting. Then choose the least invasive path: document and inspect, perform a low-risk documented check, order a compatible component, contact the manufacturer or a qualified technician, or keep the bike out of use.

A symptom tells you what happened, not which component failed. If you cannot identify the failed component and follow a bike-specific replacement procedure, do not guess. Escalate the question instead.
Your First E-Bike Repair Action: Classify the Symptom and Capture Evidence
The first step is to document the symptom before opening a component or ordering a part. Note what the bike does, when it happens, and what changed immediately beforehand. A useful record might say, "Motor assistance stopped after the bike was ridden in rain," or "The display went blank after charging," without naming a failed component.
Record whether the problem followed a ride, impact, charging event, installation, adjustment, or other change. Save any visible error message exactly as shown. If available and safe to access, note the bike's model and serial details. Take clear photos or a short video only when doing so does not require riding, charging, powering up, or disturbing a potentially damaged part.
Before opening anything, you can check accessible parts for visible damage and follow the bike maker's directions. Look at accessible areas such as the brakes, throttle, tires, cables, and frame, but do not treat an appearance or symptom as proof of failure. If the safety status is uncertain, skip ordinary troubleshooting and use the safety gate below.
Use this sequence to choose the next branch. It shows order, not risk, repair difficulty, or diagnostic certainty. The stop-use gate overrides every other path when a material hazard appears.
| What you know now | Next action |
|---|---|
| No material safety concern is visible | Document the symptom and inspect accessible areas. |
| The manual covers a low-risk owner check | Perform that check under the manual's stated conditions. |
| A component failure and complete fit are confirmed | Order the documented user-replaceable part. |
| The fault or procedure needs model-specific or hands-on help | Contact the manufacturer or a qualified repair shop. |
| A material safety concern is present | Stop using and charging the bike and arrange qualified help. |
Choose the Low-Risk DIY E-Bike Checks You Can Verify
DIY e-bike repair is reasonable when the action is accessible and low risk for your experience level. Start with the procedure in the bike's manual, including its stated tools, adjustment limits, and test conditions. If the instructions are missing, contradictory, or beyond your ability, stop at inspection and hand off the problem.
Appropriate owner-level work may include cleaning, inspecting routine wear items such as tires or the chain, checking accessible external connections, or tightening an accessible fastener when the documentation covers the action. Perform only the controlled check described in the documentation afterward. Do not invent an adjustment value, wiring sequence, or test method.
Do not open a battery, charger, controller, motor, or other protected electrical assembly as a general fault-finding exercise. Brake, structural, steering, and other safety-critical work also belongs outside the DIY path when the procedure or result is uncertain. If the symptom remains, worsens, or points to a different system after a permitted check, move to support rather than adding another repair. For optional background, see this DIY repair guidance, but use the bike's own manual for model-specific steps.
Order a Replacement Part Only After Failure and Fit Are Confirmed
Order an e-bike replacement part only when the failed component has been confirmed, the owner-replacement procedure is documented, and the complete physical and electrical fit is known. A replacement should not be a way to test a guess. Match the exact model, configuration, voltage where relevant, connectors, mounting, and any other details required by the bike's documentation.
A matching plug or similar appearance is not enough. For a battery, use a pack tested and approved for the specific device and confirmed suitable by its manufacturer. For a charger, a matching plug or universal charger label does not prove compatibility. Electrical fit should be considered across the drivetrain, battery, and charger relationship rather than one isolated connector or label, as described in UL 2849 system context.

Do not guess at replacements involving batteries, chargers, internal wiring, motors, controllers, brakes, frames, forks, steering, or another safety-critical system. Ask the manufacturer or a qualified shop to identify the part and procedure instead.
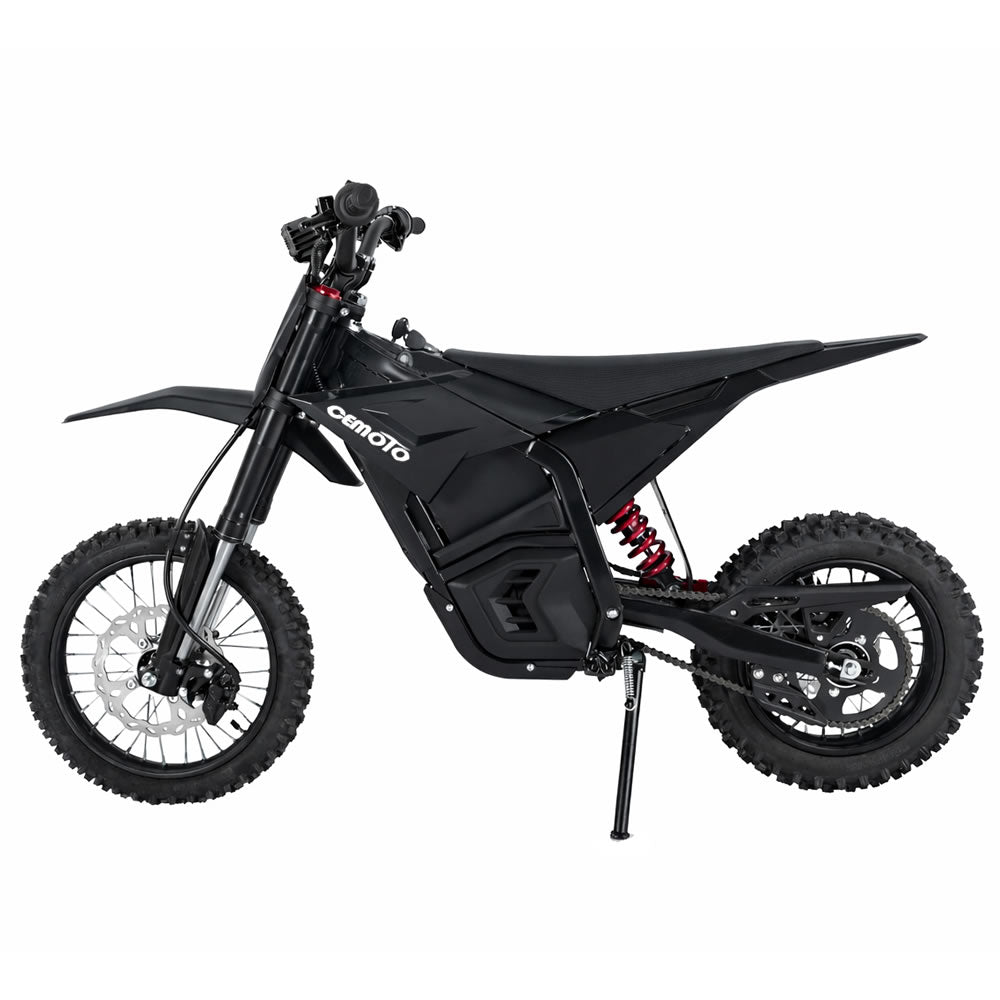
One bounded example is the CEMOTO D03 Twist Throttle. CEMOTO lists it for CEMOTO D02 and D03 models in 48 V and 72 V configurations. That listing describes only those models and voltage configurations; it does not establish that a reader's throttle has failed, that the part fits another model, or that owner installation is appropriate. Match the exact bike, configuration, voltage, connectors, mounting, and documented replacement instructions before ordering.
Hand Uncertain or High-Consequence E-Bike Repair to the Right Helper
Use the manufacturer as the first contact for model-specific information such as an error message, wiring arrangement, part fit, service instruction, or warranty question. Choose a qualified local repair shop when the bike needs hands-on diagnosis, mechanical assessment, or work you cannot confidently perform.
Hand off the problem when the diagnosis is uncertain, the procedure is undocumented, or the work involves the battery, charging system, internal wiring, motor, controller, brakes, frame, fork, wheels or axles, steering, or another system where an error could affect safe operation. Preserve the bike's current condition until the helper advises what to inspect or remove.
When you contact a helper, ask for one next decision: a documented low-risk check, an exact compatible replacement, or an in-person assessment. You can also review manufacturer support options as a contact destination, without assuming repair availability, warranty eligibility, or a particular outcome.
Stop Using and Charging the E-Bike at the Safety Gate
Stop riding and charging immediately when the bike presents a material safety concern. This gate overrides the inspection, DIY, and parts branches. Do not keep power-cycling the bike, continue a repair experiment, open a damaged battery, or order a part as a substitute for qualified assessment.
Battery warning signs include an unusual odor, a color or shape change, excessive heat, leaking, smoking, or failure to hold a charge. NFPA battery safety guidance addresses these warning signs and the need for qualified device repairs.
The same stop-use boundary applies when there is sparking, exposed or damaged wiring, a damaged charger, compromised brakes, frame or fork damage, or another condition that could make continued use unsafe. Keep people away from the unsafe bike and follow the owner's manual and applicable emergency guidance for the situation. Once this gate is triggered, arrange qualified help or appropriate emergency guidance instead of performing another DIY check.
Send a Decision-Ready E-Bike Repair Support Request
A support packet is a recommended preparation method, not a universal manufacturer form. Send observations before guessed diagnoses or unnecessary part removal so the recipient can choose a sensible next action.
- Identify the bike. Include the make, model, configuration, and serial details if available.
- Describe the symptom and timing. State exactly what happens, when it happens, and whether it is constant or intermittent if you can observe that safely.
- List recent changes. Note a ride, impact, charging event, installation, adjustment, storage change, or other event that occurred before the symptom.
- Report visible information. Describe accessible damage and copy any error information exactly.
- Summarize prior work. Say what you checked, what maintenance was performed, and what was not opened or altered.
- Attach safe media. Add clear photos or video only when capturing them does not require riding, charging, powering up, or disturbing an unsafe part.
- Ask one focused question. Ask whether the next step is a documented check, an exact compatible part, an in-person repair, or continued stop-use.
Include whether the bike is currently being kept out of use when that matters. Use the reply to select one path: follow a documented check, order an exact user-replaceable part, arrange manufacturer or qualified technician help, or keep the bike out of use for assessment. If the safety gate applies, keep the bike out of use until it is assessed. You can check warranty claim guidance as a destination for a prepared request, without assuming eligibility or an outcome.
E-Bike Repair FAQ
These answers apply the same escalation boundaries to common owner questions.
What e-bike repairs can I do myself?
A typical owner may perform a documented visual inspection, cleaning, accessible routine maintenance, and a confirmed user-replaceable component swap when the model, fit, and procedure are clear. Uncertain electrical, battery, charging, brake, structural, or undocumented work should move to a qualified helper. Start with the bike's documentation and stop if the next action is not clearly defined.
When should I stop troubleshooting an e-bike?
Stop riding and charging when smoke, sparking, unusual heat, fluid or battery damage, exposed or damaged wiring, charger damage, compromised brakes, structural damage, or another material safety concern appears. Keep the bike out of use and arrange qualified help rather than continuing to test it or ordering parts.
What information should I send for e-bike repair support?
Send model and serial details if available, the exact symptom and timing, recent changes or impacts, visible damage, relevant errors, maintenance or prior-work history, and safe photos or video. State what you checked and what you did not open or alter, then ask for one next decision.
