

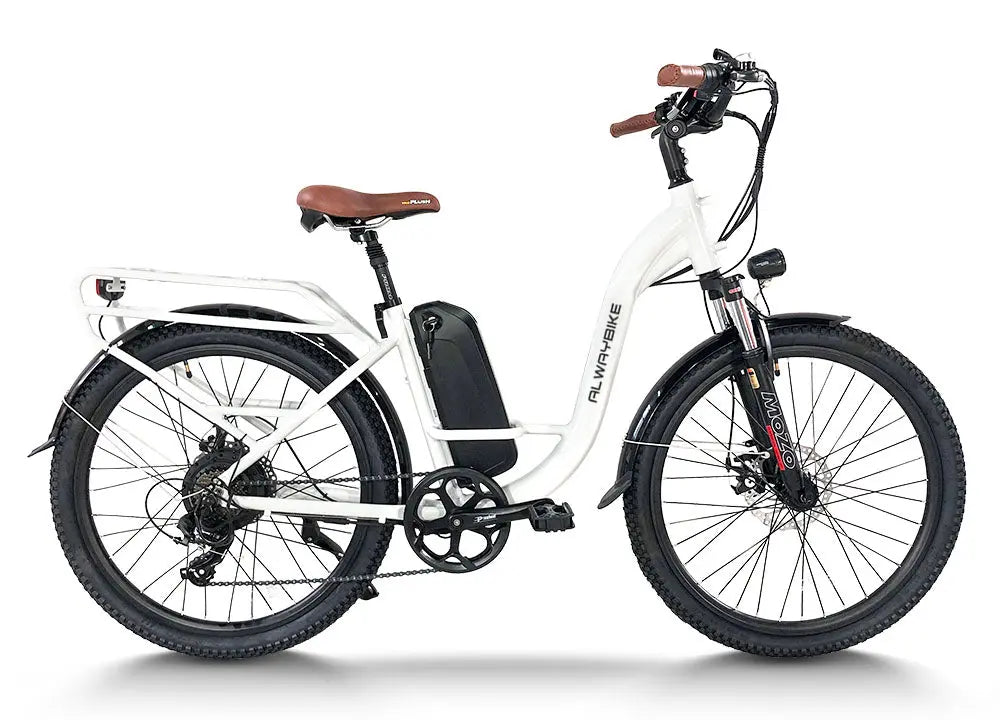
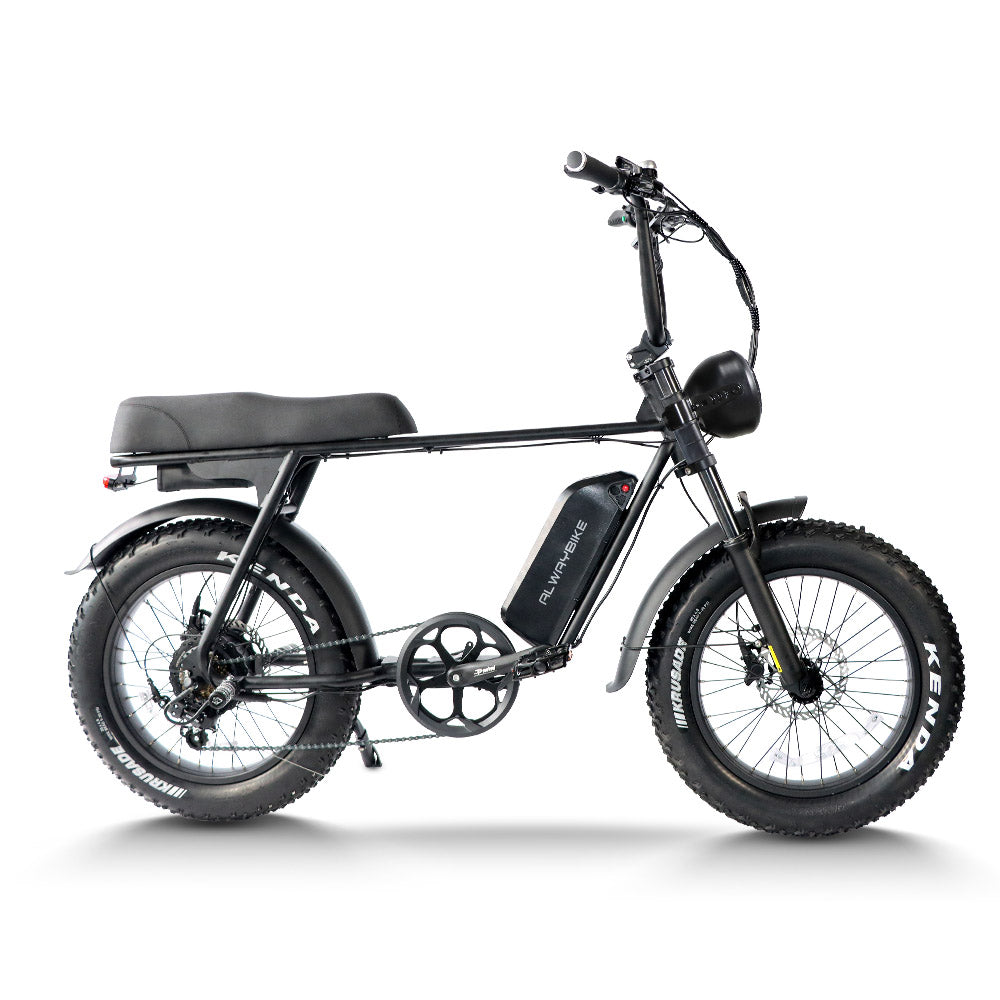
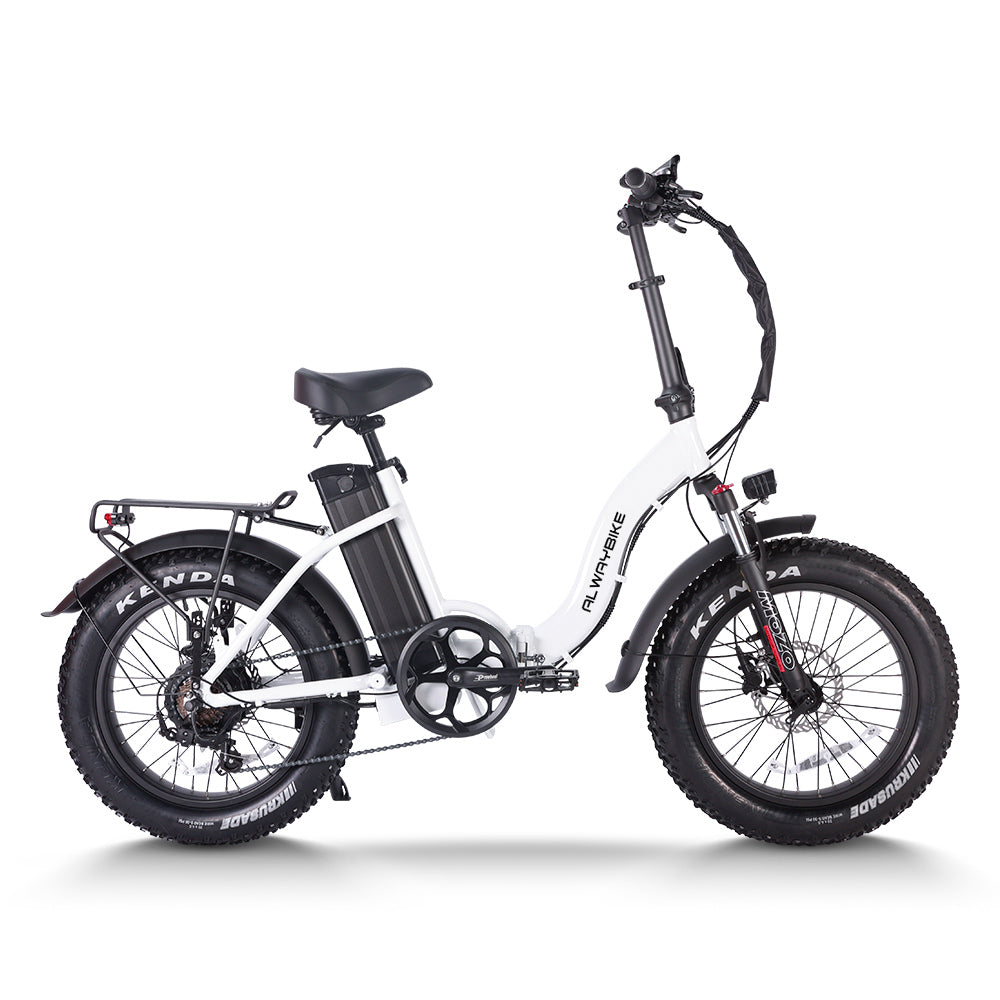
Cargo E-Bike Loading: Keep Weight Low, Balanced, and Within Limits


Use cargo e-bike loading for groceries, tools, and packages with low, balanced placement, component-limit checks, securement, and a cautious low-speed test.
Cargo e-bike loading works best as a repeatable sequence: check the bike and component limits, sort cargo by weight and shape, place dense items low and near the supported center, distribute the rest, preserve clearances, secure everything, and perform a cautious low-speed check before entering normal traffic. This conservative approach makes the load more predictable without assuming that every two-wheel design has the same capacity or ideal placement.

Load a Cargo E-Bike in This Order
For cargo e-bike loading, start with the applicable ratings. Then sort the cargo, place dense items low and near the supported center where the design permits, distribute the remaining weight, preserve clearances, and secure every item. Follow the bike and accessory documentation if it specifies a different placement or payload scope.
- Identify the controlling limit. Determine whether the bike's rating covers the rider, cargo, or both, and list every load-carrying component in use. The largest number is not automatically the limit for your setup.
- Sort the cargo before placing it. Separate dense groceries, tools, batteries, and other heavy items from tall, fragile, loose, and unevenly shaped packages. This keeps you from filling convenient spaces first and trying to correct the balance afterward.
- Place dense items low and near the supported center. Where the bike's design permits, put heavy groceries, tools, and dense delivery packages in the lowest central cargo position. Place lighter or compressible items around them instead of building a tall stack.
- Distribute the remaining load. Keep the weight balanced from side to side, and avoid making the front or rear unnecessarily heavy. For paired bags or compartments, divide the load when the design supports that arrangement.
- Protect clearances. Check the rider's legs and feet, steering, wheels, brakes, lights, pedals, drivetrain, and any moving linkage. Long tools and bulky packages need particular attention because they can reach a wheel or control even when their weight is acceptable.
- Secure every item. Close lids, tighten straps, fasten bags, and check mounting points so cargo cannot slide, swing, fall, or move into a moving part. Keep loose items contained rather than relying on their position while the bike is parked.
- Perform the final readiness check. A loaded electric cargo bike is not ready for normal traffic just because the cargo fits or the total weight appears acceptable. Use the stationary and low-speed checks in the final section before deciding to ride.
This is a conditional loading guide, not a measured rule for every frame, box, rack, or bag. Separating cargo by weight, height, shape, and shifting risk first is the practical step that makes the rest of the sequence easier to control.
Cargo E-Bike Loading: Use the Lowest Applicable Capacity Rating
A whole-bike payload and an accessory rating answer different questions. The controlling figure is the lowest applicable verified rating for the bike, the installed component, the mounting position, and the payload definition used in your configuration.
| Rating to check | What it governs | Loading decision |
|---|---|---|
| Whole-bike or total payload | The payload definition stated for the bike, which may cover the rider, cargo, or both | Confirm what the figure includes before treating it as available cargo capacity |
| Rack, platform, or front/rear support | The specific supported surface and its mounting position | Use this rating if it is lower or more specific than the whole-bike figure |
| Bag, basket, box, or other accessory | The container or attachment carrying the cargo | Keep the contents within that component's verified rating and securement requirements |

For example, a bike may have enough overall payload capacity for a planned load while a selected rear rack, front platform, side bag, or box has a separate lower limit. In that case, the component limit controls. Do not apply a whole-bike number to every accessory, and do not assume that a product listing's headline payload is cargo-only.
Check the bike documentation and each load-carrying component's rating before loading near a limit. If the rider-versus-cargo scope or an accessory limit is unclear, reduce the load or confirm the rating with the manufacturer before proceeding.
Choose the Right Location for Each Cargo Type
Cargo type affects placement when its density, height, reach, looseness, or imbalance affects clearance or handling. Use the central cargo area as the preferred starting point for dense items where the design permits, and treat racks, front areas, and side bags as configuration-dependent positions with their own limits.
Main Cargo Area: Keep Dense Items Low and Central
Put dense groceries, tools, and heavier packages low in the main cargo area and as close to its supported center as the design permits. Place lighter bags, clothing, or compressible items around the dense cargo instead of stacking weight high. This can keep the load closer to the bike's supported center of gravity without suggesting that every cargo-bike frame has the same geometry.
A tall stack can make the load feel less predictable during starts, stops, and turns. A loose item can shift even when the parked bike looks balanced. Keep bulky cargo clear of the rider's feet and legs, steering linkage, wheels, brakes, lights, pedals, drivetrain, and other moving parts. Tall or fragile items should sit below available securement points where possible, with enough space to prevent contact as the bike moves.
Rear Rack or Front Area: Avoid End-Heavy Placement
Use a rear rack or front area only within its own verified rating, and keep cargo close to the supported surface rather than allowing it to hang far out. A high, far-forward, or far-rear item can change the feel of steering, braking, acceleration, starting, stopping, and turning even when the whole-bike rating is not exceeded.
This does not make a rear rack or front area automatically unsuitable. It means the location needs its own limit, securement, and clearance check. Keep bulky tools and packages from blocking the rider's view, interfering with the controls, touching a wheel, or reducing space for the rider's legs. If cargo must extend far beyond the support or sit high to fit, choose a different supported position or reduce the load rather than relying on total weight alone.
Side Bags and Mixed Packages: Limit Side-to-Side Imbalance
When the bike and bags are designed for paired use, split mixed groceries, tools, or delivery packages between the two sides. Put the heaviest item low in each bag or compartment, and prevent smaller packages from sliding into one corner. This matters especially during repeated delivery stops because removing one package can leave the remaining load uneven.
Paired bags can help distribute a mixed load, but they do not eliminate the need to check each bag's rating, attachment, and clearance. If one side becomes noticeably heavier or an uneven load cannot be corrected, reduce or reposition it before the final handling check.
Use the table below as a conditional aid, not as a universal front/rear rule. A location is suitable only when the bike design, clearances, securement points, and component rating permit it.
| Cargo characteristic | Preferred starting point | Condition or correction |
|---|---|---|
| Dense groceries, tools, or packages | Low in the supported central cargo area | Use this position only where the bike design permits; add lighter items around the dense load rather than stacking weight high |
| Tall or fragile items | A low position below available securement points | Preserve clearance around the rider, controls, wheels, brakes, lights, pedals, and drivetrain; reduce or reposition the item if it cannot be contained |
| Loose or shifting items | A supported cargo area or paired bags designed for the setup | Close, strap, or contain the item so it cannot slide, swing, or contact a moving part |
| Uneven mixed packages | Paired side bags when the bike and bags are designed for paired use | Divide the load between sides and correct any remaining imbalance before the final handling check |
Secure the Load, Then Test the Loaded Bike
The final readiness decision combines the applicable limit, securement, clearance, and low-speed behavior. A load within the stated whole-bike rating still needs correction if it shifts, interferes with control, or changes the bike's response in an unpredictable way.
- Inspect the load and clearances. Check straps, fasteners, lids, bags, and mounting points. Nothing should be able to slide, swing, fall, or reach a wheel, brake, light, pedal, drivetrain, steering part, or rider-clearance area.
- Confirm the stationary setup. Recheck the lowest applicable verified rating, cargo position, and clearances while the bike is stationary. Make sure the controls remain unobstructed and the load is secure before moving.
- Perform a cautious low-speed test. In a clear, low-traffic area, test the loaded bike at low speed. Stop if cargo shifts or if handling, clearance, steering, or braking feels unpredictable.
- Correct the setup before normal traffic. Reduce or reposition the load, then repeat the low-speed check if any stop condition appears. Do not enter normal traffic while the issue remains unresolved.
A successful low-speed check does not establish that every road, weather, or traffic situation is suitable. Enter normal traffic only when the load remains within the applicable limit, stays secure and clear, and the bike responds predictably during the low-speed check.
Frequently Asked Questions
These answers address loading situations that call for a specific correction rather than replacing the final readiness check.
What Should I Do if One Side Becomes Heavier During Deliveries?
Stop and correct the imbalance before continuing in normal traffic. Move or remove cargo so the remaining items are distributed between paired bags or supported positions where the bike design permits, then repeat the cautious low-speed check.
Can Heavy Cargo Affect a Cargo E-Bike's Stability?
Yes. A high, far-forward, far-rear, or uneven load can change steering, braking, starting, stopping, or turning feel even when the whole-bike rating is not exceeded. Reduce or reposition the load if the low-speed response becomes unpredictable.
How Should I Pack Tall or Fragile Cargo?
Keep it low and below available securement points where possible. Contain it so it cannot shift, and preserve clearance around the rider, controls, wheels, brakes, lights, pedals, and drivetrain. If those conditions cannot be maintained, choose a different supported position or reduce the load.
What Should I Do if the Payload Definition Is Unclear?
Do not load near the stated limit until you know whether it covers the rider, cargo, or both and whether the selected component has a separate limit. Reduce the planned load or confirm the applicable rating with the manufacturer before proceeding.
